Macro · Execution
#42 How to Size Positions by Liquidity Regime
· 6 min read
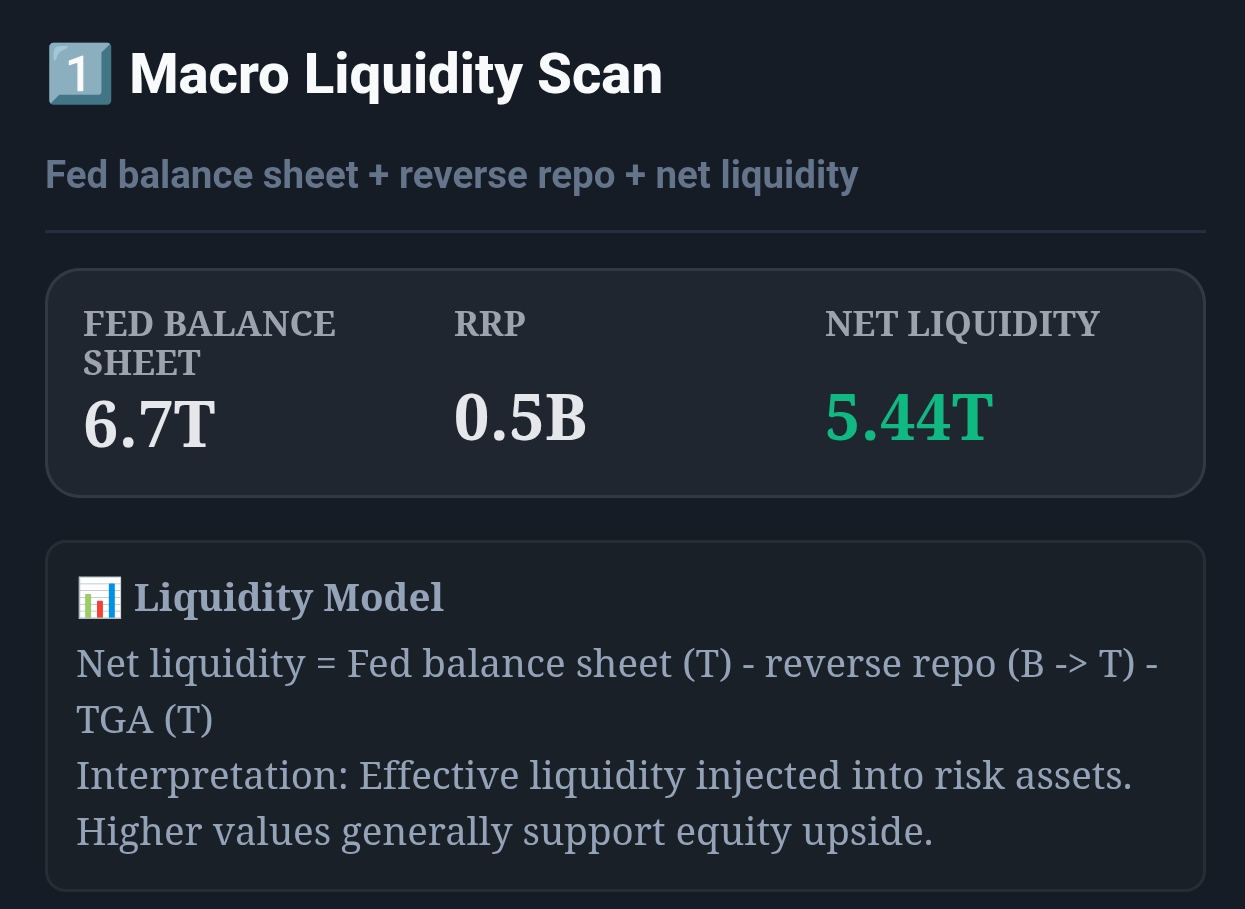
Live capture of Macro Liquidity Scan in Inveflo.
📍 Home › ANALYSIS_2 › Widget 1: Macro Liquidity Scan
0) Where to Find This Widget
Open ANALYSIS_2. Use Widget 1: Macro Liquidity Scan to read Net Liquidity and decide today’s risk budget before taking entries.
1) TL;DR
Your edge is not picking one more stock — it’s sizing correctly. Use Net Liquidity zones to set a weekly risk budget: Green = 1.0x, Neutral = 0.7x, Red = 0.4x.
2) Hook (Pain-Driven)
Most drawdowns are sizing errors. You can have great entries and still lose if you size like a bull market during liquidity tightening.
3) Problem
A static “2% per trade” rule ignores regime. In Red regimes, correlations rise and stops get hit together. Your risk per position must shrink.
4) Solution (Widget Introduction)
Use Net Liquidity as the macro switch, and convert it into a risk budget for the week. This makes your system robust even when stock selection is noisy.
5) Logic Breakdown (Formula + Thresholds)
- Green: NetLiquidity > 5.0T and 2-week slope > 0.
- Neutral: 4.0T–5.0T or mixed trend.
- Red: < 4.0T or 2-week slope < 0.
6) Practical Use (IF X → THEN Y)
- If regime is Green, then set max risk per position to 1.0R (full size) and allow up to 5 concurrent positions.
- If regime is Neutral, then reduce position size to 0.7R and cap positions at 3.
- If regime is Red, then reduce position size to 0.4R, cap positions at 2, and require tighter confirmation before any entry.
7) Common Mistakes
- Keeping the same number of positions regardless of regime.
- Widening stops instead of reducing size (this increases tail risk).
- Adding aggressively in Neutral regimes (whipsaw zone).
CTA: Open Macro Liquidity System
Use the live macro, credit, regime, and momentum widgets to validate the rules from this guide.